启动画面
在本实验中,我们将在 Tauri 应用程序中实现基本的启动画面功能。这样做非常简单,启动画面实际上只是创建一个新窗口,在您的应用程序执行一些繁重的设置相关任务期间显示一些内容,并在设置完成后关闭它。
准备工作
步骤
-
在您开始开发任何项目之前,重要的是构建并运行初始模板,只是为了验证您的设置是否按预期工作。
# Make sure you're in the right directorycd splashscreen-lab# Install dependenciespnpm install# Build and run the apppnpm tauri dev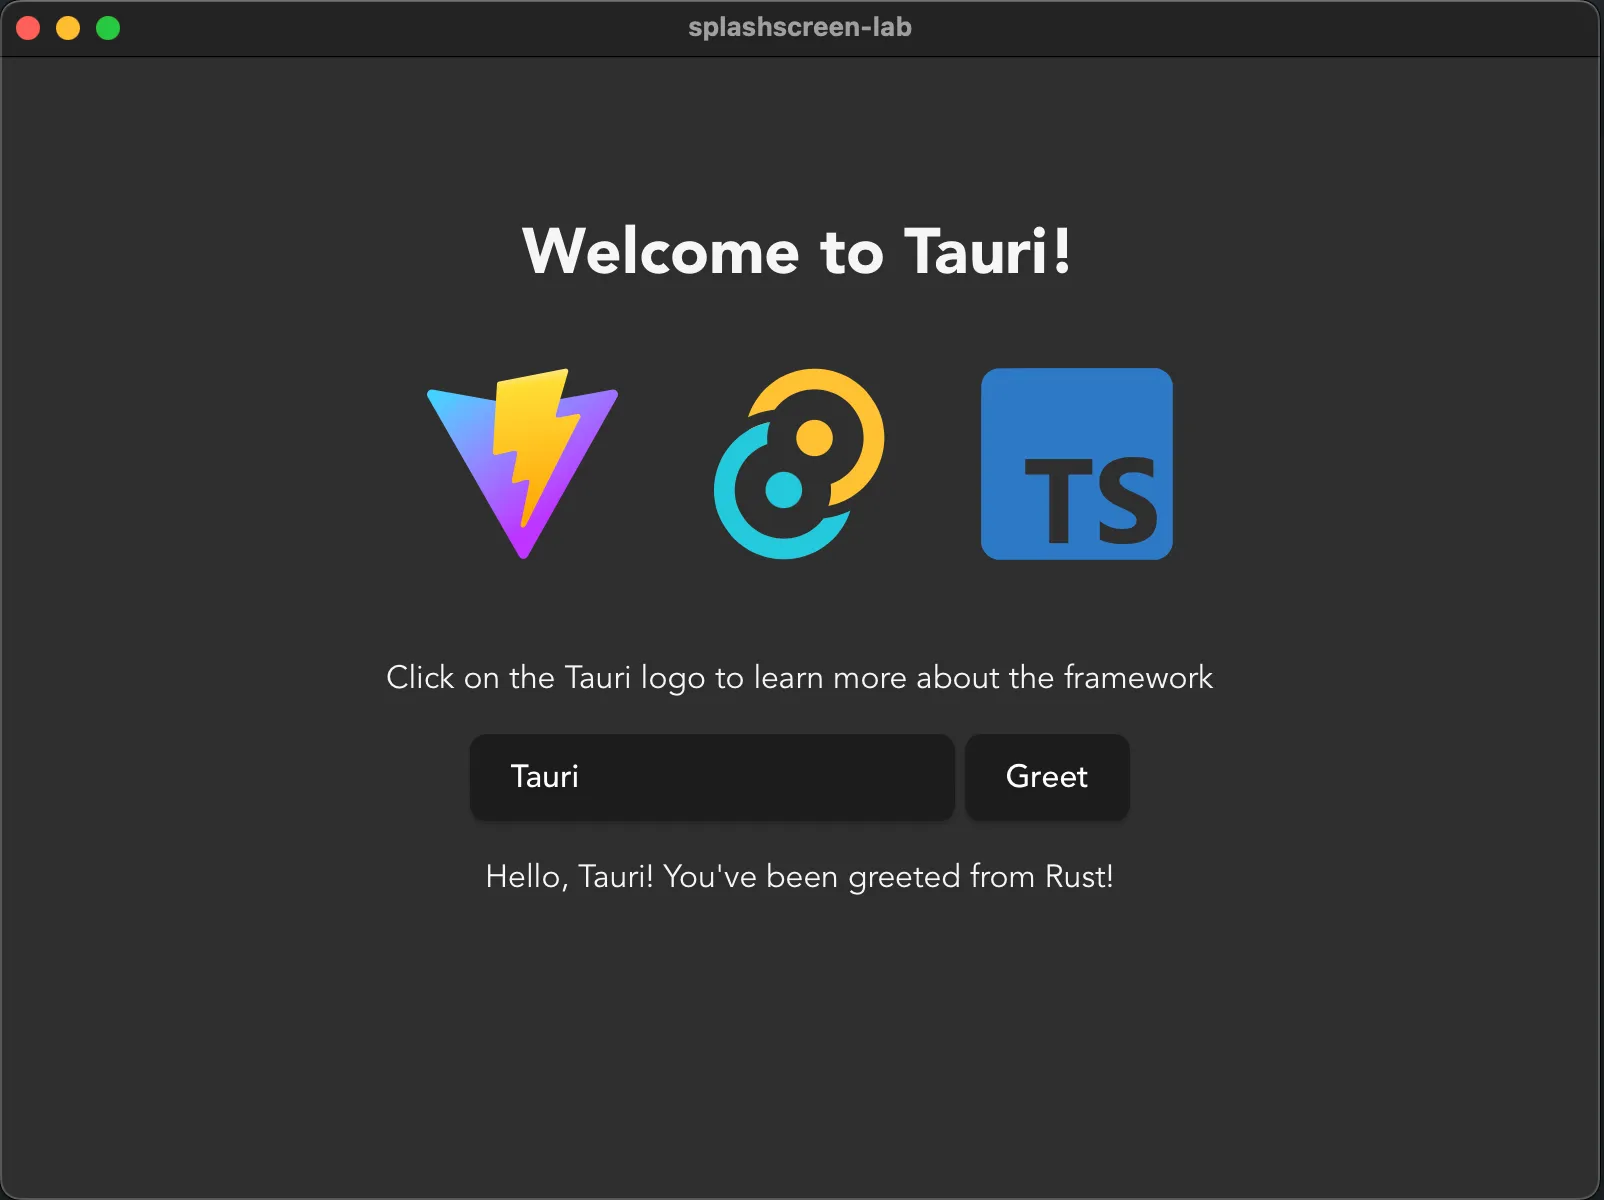
-
添加新窗口的最简单方法是直接将它们添加到
tauri.conf.json。您也可以在启动时动态创建它们,但为了简单起见,我们只注册它们。确保您有一个标签为main的窗口,该窗口被创建为隐藏窗口,以及一个标签为splashscreen的窗口,该窗口被创建为直接显示。您可以将所有其他选项保留为默认值,或根据偏好进行调整。src-tauri/tauri.conf.json {"windows": [{"label": "main","visible": false},{"label": "splashscreen","url": "/splashscreen"}]} -
在您开始之前,您需要有一些内容来显示。您如何开发新页面取决于您选择的框架,大多数框架都有“路由器”的概念来处理页面导航,这应该像在 Tauri 中一样正常工作,在这种情况下,您只需创建一个新的启动画面页面。或者像我们在这里要做的,创建一个新的
splashscreen.html文件来托管内容。这里重要的是您可以导航到
/splashscreenURL 并显示您想要的启动画面内容。在此步骤之后,尝试再次运行应用程序!/splashscreen.html <!doctype html><html lang="en"><head><meta charset="UTF-8" /><link rel="stylesheet" href="/src/styles.css" /><meta name="viewport" content="width=device-width, initial-scale=1.0" /><title>Tauri App</title></head><body><div class="container"><h1>Tauri used Splash!</h1><div class="row"><h5>It was super effective!</h5></div></div></body></html>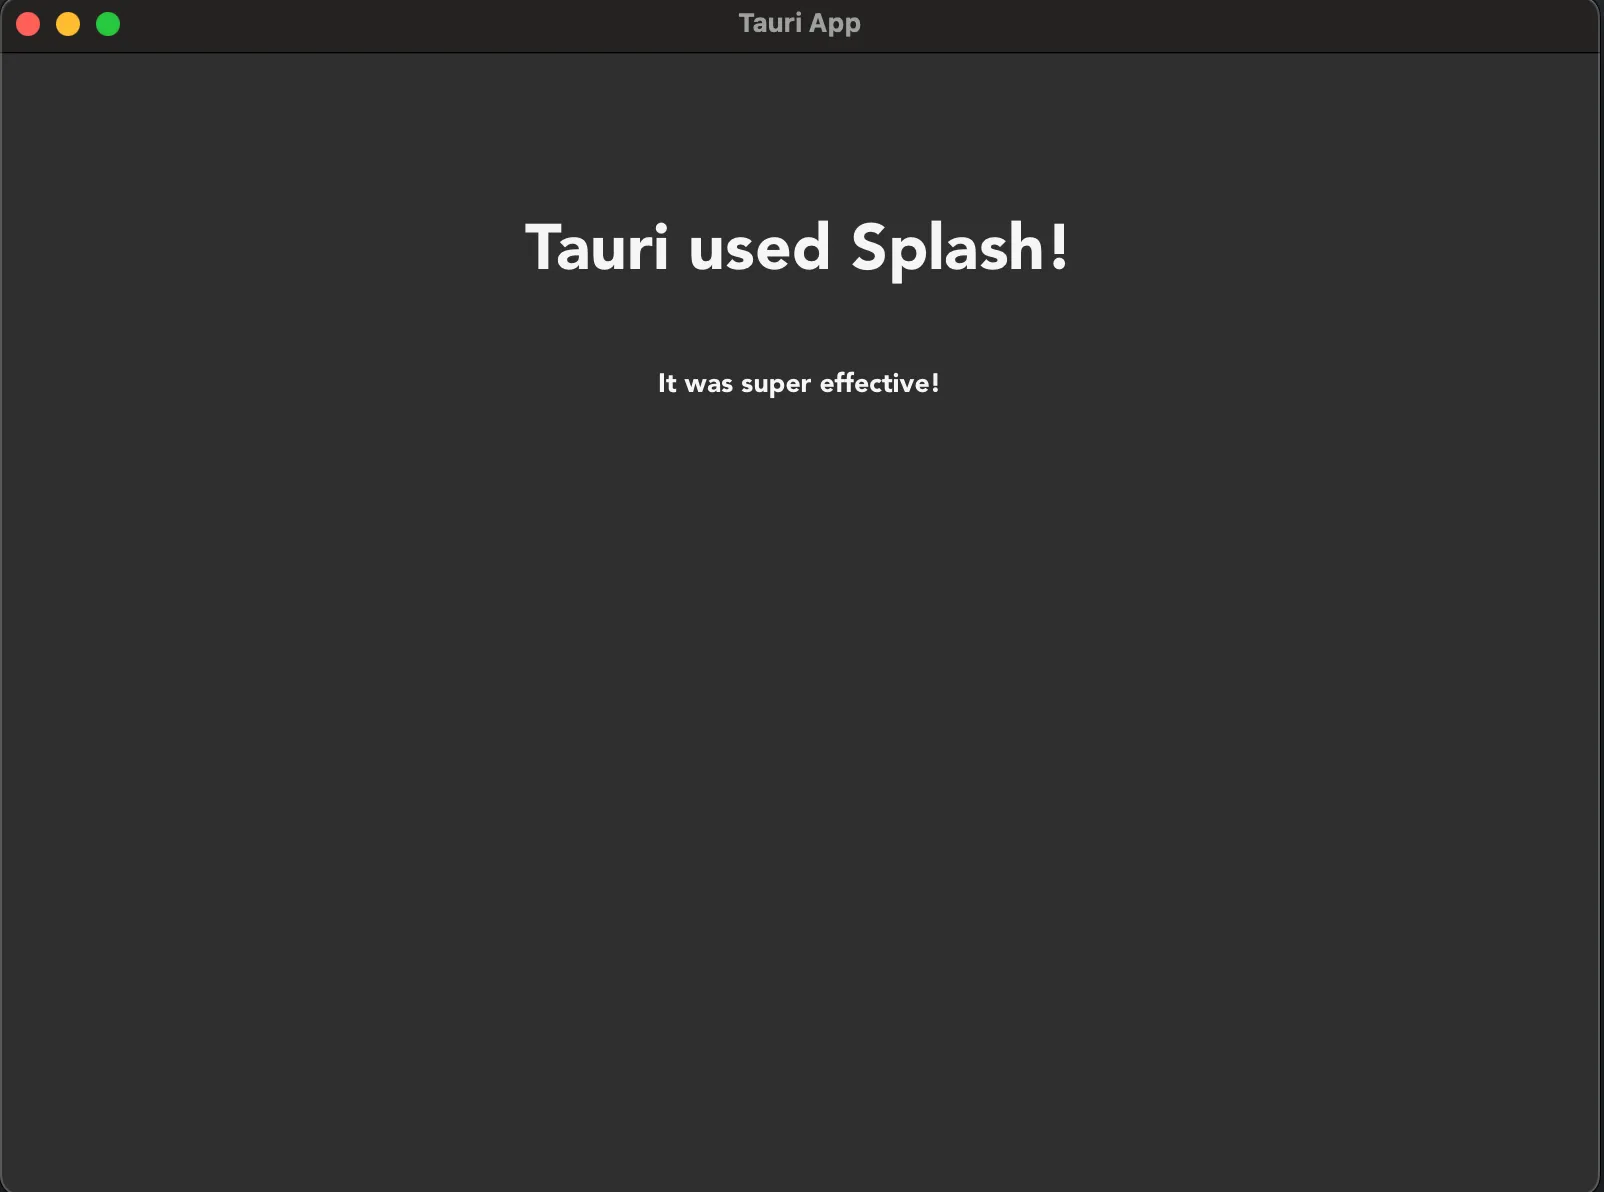
-
由于启动画面通常旨在用于隐藏繁重的设置相关任务,因此让我们伪造给应用程序一些繁重的工作要做,一些在前端,一些在后端。
为了在前端模拟繁重的设置,我们将使用一个简单的
setTimeout函数。在后端模拟繁重操作的最简单方法是使用 Tokio crate,这是 Tauri 在后端使用的 Rust crate,以提供异步运行时。虽然 Tauri 提供了运行时,但 Tauri 没有从它重新导出各种实用程序,因此我们需要将该 crate 添加到我们的项目中才能访问它们。这在 Rust 生态系统中是一种完全正常的做法。
不要在异步函数中使用
std::thread::sleep,它们在并发环境中协作运行而不是并行运行,这意味着如果您睡眠线程而不是 Tokio 任务,您将锁定计划在该线程上运行的所有任务,导致您的应用程序冻结。# Run this command where the `Cargo.toml` file iscd src-tauri# Add the Tokio cratecargo add tokio# Optionally go back to the top folder to keep developing# `tauri dev` can figure out where to run automaticallycd ..src/main.ts // These contents can be copy-pasted below the existing code, don't replace the entire file!!// Utility function to implement a sleep function in TypeScriptfunction sleep(seconds: number): Promise<void> {return new Promise(resolve => setTimeout(resolve, seconds * 1000));}// Setup functionasync function setup() {// Fake perform some really heavy setup taskconsole.log('Performing really heavy frontend setup task...')await sleep(3);console.log('Frontend setup task complete!')// Set the frontend task as being completedinvoke('set_complete', {task: 'frontend'})}// Effectively a JavaScript main functionwindow.addEventListener("DOMContentLoaded", () => {setup()});/src-tauri/src/lib.rs // Import functionalities we'll be usinguse std::sync::Mutex;use tauri::async_runtime::spawn;use tauri::{AppHandle, Manager, State};use tokio::time::{sleep, Duration};// Create a struct we'll use to track the completion of// setup related tasksstruct SetupState {frontend_task: bool,backend_task: bool,}// Our main entrypoint in a version 2 mobile compatible app#[cfg_attr(mobile, tauri::mobile_entry_point)]pub fn run() {// Don't write code before Tauri starts, write it in the// setup hook instead!tauri::Builder::default()// Register a `State` to be managed by Tauri// We need write access to it so we wrap it in a `Mutex`.manage(Mutex::new(SetupState {frontend_task: false,backend_task: false,}))// Add a command we can use to check.invoke_handler(tauri::generate_handler![greet, set_complete])// Use the setup hook to execute setup related tasks// Runs before the main loop, so no windows are yet created.setup(|app| {// Spawn setup as a non-blocking task so the windows can be// created and ran while it executesspawn(setup(app.handle().clone()));// The hook expects an Ok resultOk(())})// Run the app.run(tauri::generate_context!()).expect("error while running tauri application");}#[tauri::command]fn greet(name: String) -> String {format!("Hello {name} from Rust!")}// A custom task for setting the state of a setup task#[tauri::command]async fn set_complete(app: AppHandle,state: State<'_, Mutex<SetupState>>,task: String,) -> Result<(), ()> {// Lock the state without write accesslet mut state_lock = state.lock().unwrap();match task.as_str() {"frontend" => state_lock.frontend_task = true,"backend" => state_lock.backend_task = true,_ => panic!("invalid task completed!"),}// Check if both tasks are completedif state_lock.backend_task && state_lock.frontend_task {// Setup is complete, we can close the splashscreen// and unhide the main window!let splash_window = app.get_webview_window("splashscreen").unwrap();let main_window = app.get_webview_window("main").unwrap();splash_window.close().unwrap();main_window.show().unwrap();}Ok(())}// An async function that does some heavy setup taskasync fn setup(app: AppHandle) -> Result<(), ()> {// Fake performing some heavy action for 3 secondsprintln!("Performing really heavy backend setup task...");sleep(Duration::from_secs(3)).await;println!("Backend setup task completed!");// Set the backend task as being completed// Commands can be ran as regular functions as long as you take// care of the input arguments yourselfset_complete(app.clone(),app.state::<Mutex<SetupState>>(),"backend".to_string(),).await?;Ok(())} -
运行应用程序
您现在应该看到一个启动画面窗口弹出,前端和后端都将执行各自繁重的 3 秒设置任务,之后启动画面消失,主窗口显示!
讨论
您应该使用启动画面吗?
一般来说,拥有启动画面承认了您无法使您的应用程序加载得足够快以至于不需要启动画面。事实上,最好直接进入主窗口,然后在角落的某个地方显示一些小旋转器,告知用户后台仍在进行设置任务。
但是,话虽如此,拥有启动画面可能是一种您想要拥有的风格选择,或者您可能有一些非常特殊的要求,使得在执行某些任务之前无法启动应用程序。拥有启动画面绝对不是错误的,它只是往往没有必要,并且可能让用户感觉应用程序优化得不是很好。
© 2025 Tauri Contributors. CC-BY / MIT